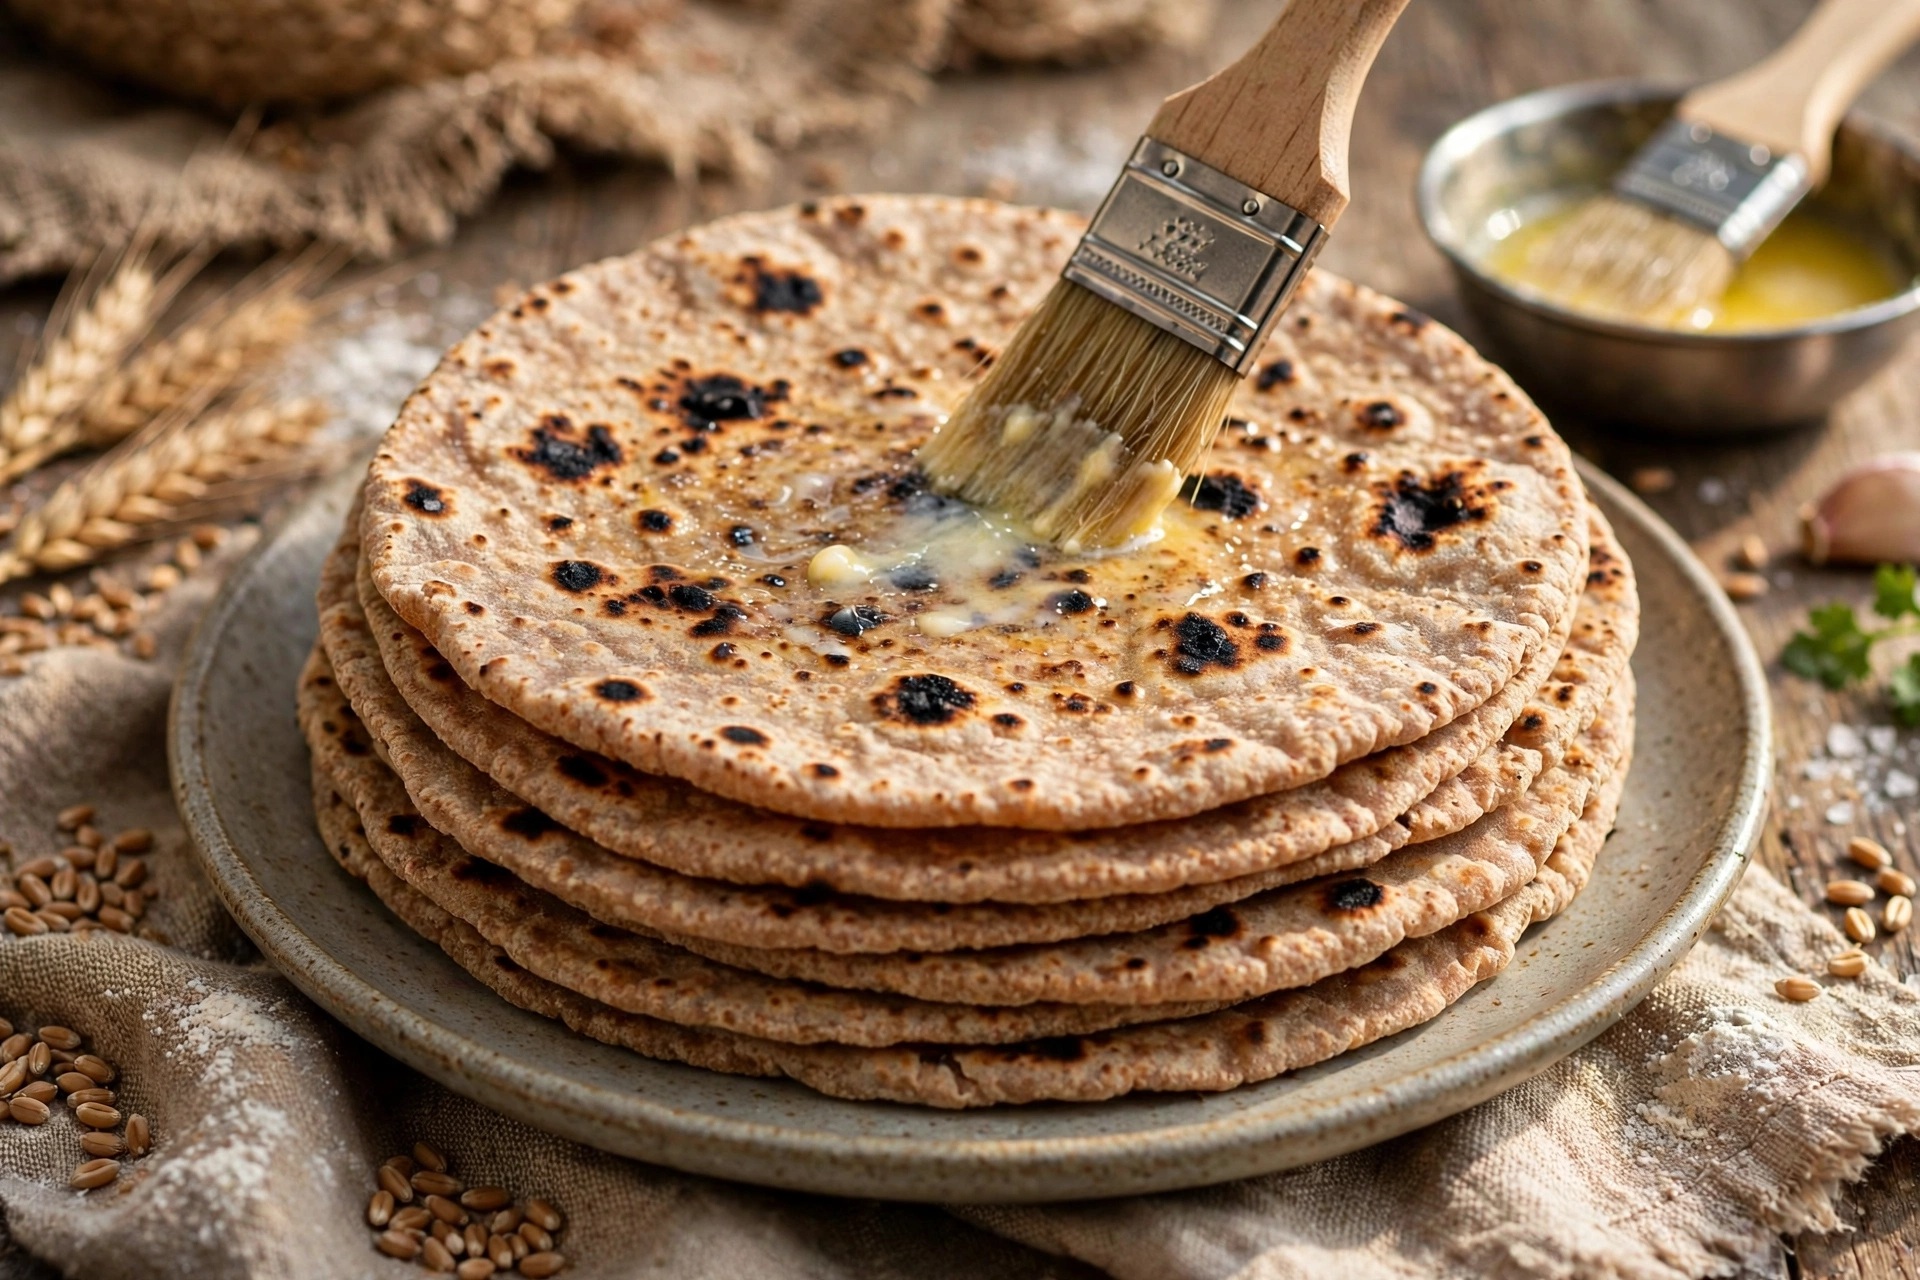
There’s a particular joy in pulling a blistered, puffy roti off a hot surface and watching it balloon with steam — and this tandoori roti recipe lets you do it on an ordinary stovetop, no clay oven required. Tandoori roti is the slightly thicker, chewier cousin of chapati, with the characteristic charred spots and smoky flavor you know from restaurant tandoors. With the right dough and one clever technique, your kitchen stove can get you remarkably close.
I first tried making tandoori roti at home after a trip where I watched a tandoorwala slap dough onto the inside wall of a blazing clay oven. The roti stuck, blistered, and puffed in under a minute, and I came home determined to recreate it. My first attempts were humbling — pale, stiff discs that tasted of disappointment. Then an older neighbor showed me the trick: you don’t need the oven if you use the flame directly, cooking the roti on an inverted flame or open burner so it chars and puffs just like the real thing.
This tandoori roti recipe uses a soft whole wheat dough enriched with a little yogurt, which keeps the rotis tender and gives them that slight tang you taste in the restaurant version. I’ll show you how to roll them, how to get them to stick to your pan or tawa, and how to finish them over the direct flame for the char and puff. It takes practice — your first two might be ugly — but by the third, you’ll get it, and there’s no going back to plain chapatis on curry night.
Why You’ll Love This Tandoori Roti Recipe
- No tandoor needed — a regular gas stove and a tawa or pan are all it takes.
- Chewy, blistered, smoky — the texture and char are remarkably close to the restaurant version.
- Simple dough — whole wheat flour, yogurt, water, salt, and a little oil. That’s it.
- Healthier than naan — no refined flour, no heavy butter wash (unless you want it).
- Impressive at the table — serving hot, puffy rotis straight from the flame never fails to get a reaction.
Ingredients
- Whole wheat flour (atta) — 2 cups (240 g), plus extra for dusting
- Plain yogurt — 1/4 cup (60 g), at room temperature
- Warm water — 1/2 to 3/4 cup (120–180 ml), as needed
- Salt — 3/4 teaspoon
- Sugar — 1/2 teaspoon (feeds the texture, not sweetness)
- Baking soda — 1/4 teaspoon (optional, for extra puff)
- Neutral oil or ghee — 1 tablespoon (15 ml), plus more for brushing
- Water in a small bowl — for sticking the roti to the pan
- Melted butter or ghee — for brushing finished rotis (optional)
- Nigella seeds (kalonji) or sesame seeds — 1 teaspoon, for topping (optional)
Instructions
- Make the dough. In a large bowl, whisk together the flour, salt, sugar, and baking soda if using. Add the yogurt and oil, then pour in 1/2 cup of warm water. Mix with your hand until a shaggy dough forms, adding more water a tablespoon at a time until it comes together. Knead for 7 to 8 minutes until smooth, soft, and slightly tacky — softer than chapati dough, because tandoori roti needs that extra hydration to puff. If the dough fights you, cover it and rest 10 minutes, then knead again; the gluten relaxes and it becomes much easier. This resting trick saves more doughs than any amount of muscle.
- Rest the dough. Cover the bowl with a damp cloth or plate and let the dough rest for at least 30 minutes, up to 2 hours at room temperature. This rest is non-negotiable: it hydrates the flour fully and relaxes the gluten, which is what lets you roll the rotis without them springing back and gives you that tender, chewy bite. If you’re in a real hurry, 20 minutes is the absolute minimum, but the texture improves noticeably with a full half hour.
- Divide and shape. Divide the dough into 8 equal portions and roll each into a smooth ball, tucking the edges underneath. Keep the balls covered with the damp cloth while you work so they don’t dry out — dry dough cracks when rolled and won’t puff. Working with one ball at a time, flatten it and roll it into a round about 6 to 7 inches across and slightly thicker than a chapati. Don’t roll it paper-thin; tandoori roti should have some substance to chew on.
- Wet and stick. Here’s the key technique: dip your fingers in the small bowl of water and lightly wet one entire side of the rolled roti — not soaking, just a thin, even film of water. Heat your tawa, cast-iron skillet, or heavy pan over medium-high heat until it’s properly hot. Place the roti wet-side down on the hot surface and press gently for a few seconds. The water creates steam that glues the roti to the pan, exactly the way dough sticks to the wall of a tandoor. Cook for 60 to 90 seconds until the bottom sets and you see small bubbles forming on top.
- Flip and flame. Now comes the fun part. Using tongs, lift the pan off the burner, flip it upside down, and hold the roti directly over the open flame — the roti stays stuck to the pan while the flame licks its surface. Move it slowly so the flame chars spots across the whole roti, about 30 to 45 seconds, until it’s puffed up like a balloon and has beautiful blackened blisters. If you’re nervous about the inverted-pan method, you can instead flip the roti onto the flame with tongs and cook each side directly for 20 seconds — slightly less dramatic, same result. Watch it constantly; the line between charred and burnt is thin.
- Finish and keep warm. Slide the finished roti onto a plate, brush lightly with melted butter or ghee if you like, and sprinkle with nigella seeds while it’s hot so they stick. Immediately cover with a clean kitchen towel or place in a roti box — trapped steam keeps them soft. Repeat with the remaining dough balls. Serve within 20 minutes for the best texture; tandoori roti is at its peak hot off the flame, puffy and steaming.
Pro Tips
- Dough softness is everything. If your rotis come out stiff, the dough was too firm. Next time, add more water — tandoori roti dough should feel softer and tackier than chapati dough.
- Hot pan, no oil. The tawa must be properly hot before the roti goes on, and it must be dry — oil prevents the water-gluing trick from working.
- Don’t skip the water film. It’s tempting to skip wetting the roti, but without it the roti won’t stick for the flame step and you’ll lose the char and puff.
- Roll evenly. Thin spots burn while thick spots stay raw. Aim for uniform thickness, slightly thicker in the center is fine.
- Work quickly at the flame. Have your plate and towel ready before you start the flame step. A finished roti left sitting goes from puffy to flat in a minute.
- Practice on the first two. Accept that rotis one and two are sacrifices to the learning gods. By number three, your hands will know what to do.
Serving Suggestions
Tandoori roti demands a curry with gravy to scoop — dal makhani is the classic pairing, and the combination is genuinely one of the great meals of the world. It’s equally good with paneer butter masala, chicken karahi, or any rich, saucy curry. For a simpler meal, serve with just dal tadka and a crunchy onion-cucumber salad. And if you have leftovers (unlikely), tear them into pieces and warm them in a covered pan the next day — they make excellent scoops for hummus or any dip.
FAQs
Can I make tandoori roti on an electric stove?
Yes, with a small adjustment. You can’t use the open-flame step, so instead cook the roti on a very hot dry tawa, flipping every 30 seconds and pressing gently with a folded cloth to encourage puffing. You’ll get the blistered texture but less char. Some people finish electric-stove rotis under a hot broiler for 30 seconds to add color — that works well too.
Why won’t my roti stick to the pan?
Three usual causes: the pan wasn’t hot enough, the pan had oil residue on it, or the water film was too thin or too thick. Make sure the tawa is dry and properly preheated, wet the roti evenly (it should glisten, not drip), and press it down firmly for a few seconds when you place it.
Can I make the dough ahead of time?
Yes. The dough keeps in the refrigerator for up to 2 days in a sealed container or wrapped tightly. Bring it to room temperature for 30 minutes before rolling, and knead it briefly to wake up the gluten. Cold dough is stiff and won’t roll or puff properly.
What’s the difference between tandoori roti and naan?
Tandoori roti is made with whole wheat flour and no leavening beyond a pinch of soda, giving it a hearty chew. Naan uses refined flour (maida) with yeast or yogurt for a softer, pillowy texture. Both are traditionally tandoor-baked, but roti is the everyday whole-grain version.
Why are my rotis hard instead of soft?
Hard rotis almost always mean the dough was too dry or under-rested, or they were cooked too long. Make the dough soft, rest it properly, cook quickly over high heat, and — most importantly — cover finished rotis immediately so steam keeps them supple.
That’s the whole technique: soft dough, wet-side-down, and a fearless moment over the flame. The first time a roti balloons up in front of you, you’ll understand why people get obsessed with this. This tandoori roti recipe has ruined plain chapatis for my family on curry nights, and I suspect it’ll do the same for yours.