Crispy Air Fryer Chicken Wings Recipe – Low-Oil Snack
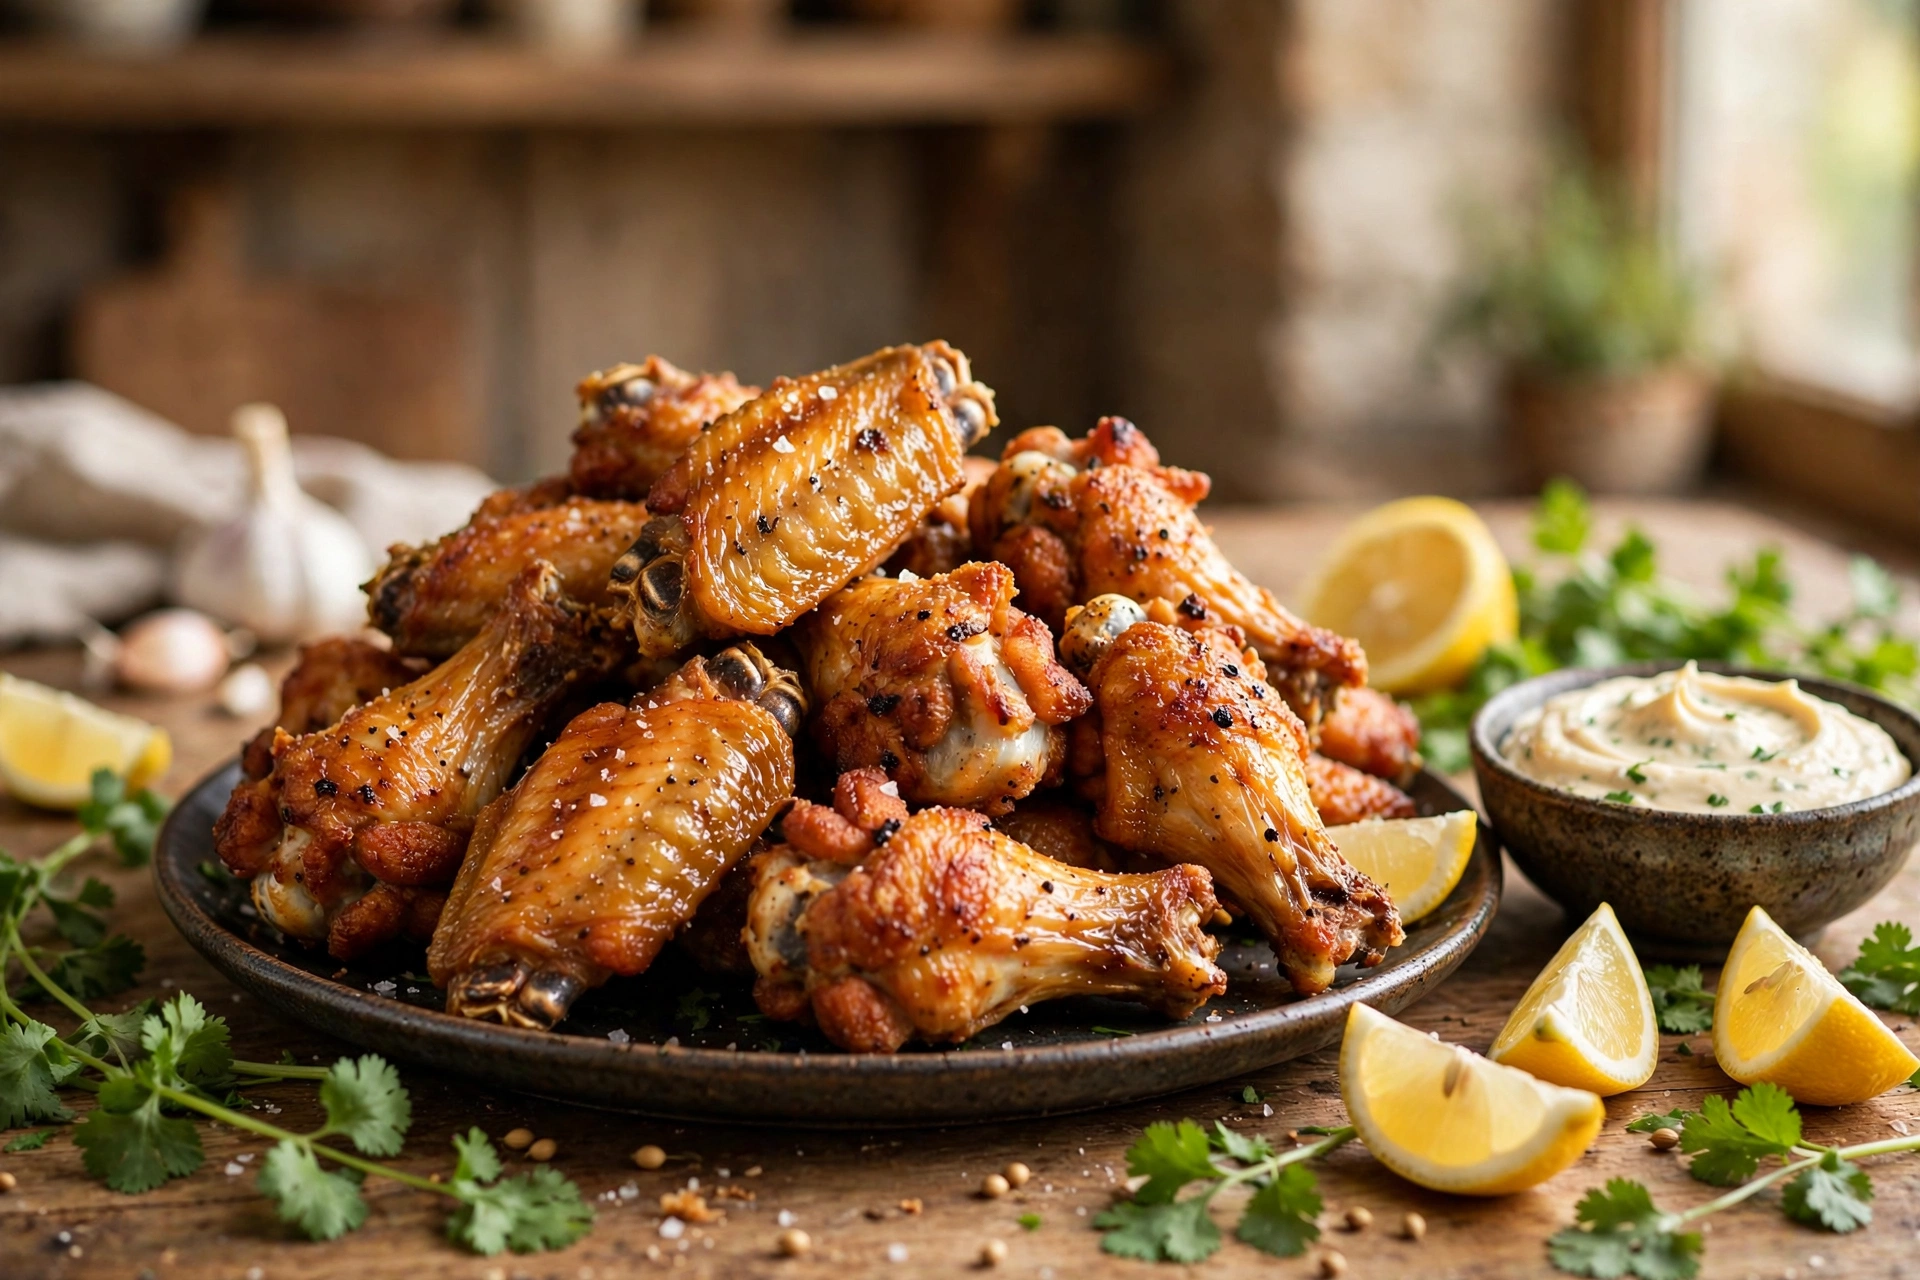
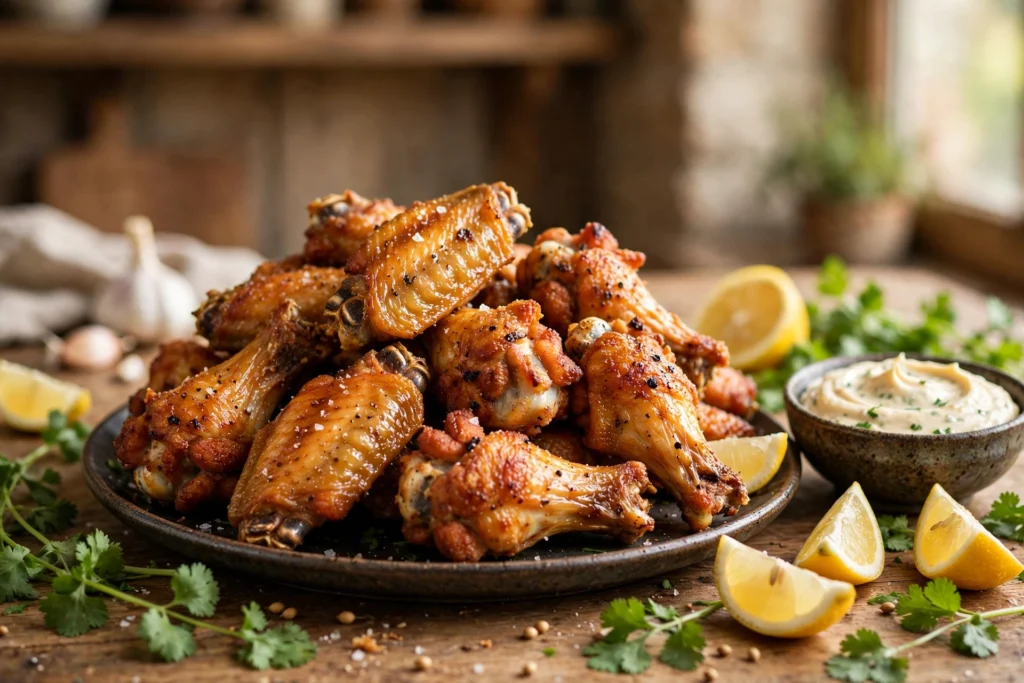
Here is a truth I learned the expensive way: the crispiest chicken wings I ever made were not deep-fried. They came out of an air fryer with barely a teaspoon of oil, and my family finished the whole batch before I could plate the second one. No oil splattering, no kitchen smelling of fried grease for two days, no heavy feeling after eating.
Let me be honest first: an air fryer is basically a small, powerful convection oven — it blows hot air around the food rather than frying it. But that is exactly why it works for wings. Wings have their own fat under the skin. Blast them with high heat and circulating air, and that fat renders out and crisps the skin from the inside. You get golden, crackly wings with roughly 70–80% less oil than deep-frying.
The secret is in two things most recipes rush past: drying the wings properly, and letting the cornflour coating rest a few minutes. Get those right and the skin turns shatteringly crisp. (Aur agar ghar mein koi kehta hai “air fryer wings taste boiled,” unko ye recipe khilao — phir dekhte hain.)
Why You’ll Love These Air Fryer Wings
- Genuinely crispy, not soggy – a dry brine rest plus cornflour coating gives you crackly skin without a drop of deep-frying oil.
- Ready in 35 minutes – 10 minutes of prep and rest, 25 minutes in the air fryer. Faster than ordering in.
- Light on oil – just 1 tsp for the whole batch.
- Kid-approved – juicy inside, not too spicy in the base recipe, and endlessly dippable.
- One base, four flavors – master the crispy method once, then try peri peri, honey garlic, desi masala, or classic.
Ingredients
Makes 12 wings (about 3–4 servings as a snack). Everything is available at any desi butcher or supermarket.
- Chicken wings, split into flats and drumettes – 1 kg (about 12–14 pieces)
- Salt – 1 tsp (for the dry brine)
- Cornflour (cornstarch) – 3 tbsp
- Rice flour – 1 tbsp (optional, but makes the crust extra crisp)
- Baking powder – 1 tsp (it raises the skin’s pH and helps it brown and crisp)
- Black pepper, freshly ground – 1 tsp
- Garlic powder – 1 tsp
- Smoked paprika or Kashmiri red chili powder – 1 tsp
- Oil (any neutral oil) – 1 tsp, just for brushing
For Serving
- Lemon wedges – 1 lemon, cut into wedges
- Fresh coriander (dhania) leaves, chopped – 2 tbsp
- Your favorite dip — garlic mayo, mint raita, or plain ketchup all work
Step-by-Step Instructions
Step 1: Dry the Wings and Dry-Brining Rest
This is the most important step in the whole recipe, so do not skip it. Pat the wings completely dry with paper towels — every surface, including between the joints. Moisture is the enemy of crispiness: wet skin steams instead of crisping. Toss the wings with 1 tsp salt, spread them uncovered on a plate, and rest in the fridge for at least 30 minutes (overnight is even better). The salt draws out surface moisture and seasons the meat through. (Sookhe wings = crispy wings. Yehi poori game hai.)
Step 2: Coat in the Crispy Mix
Pat the wings dry once more. In a large bowl, mix the cornflour, rice flour, baking powder, black pepper, garlic powder, and paprika or chili powder. Add the wings and toss until every piece is lightly, evenly coated — a thin dusting, not a thick batter. Tap off any excess, then rest 5 minutes so the starch hydrates and sticks.
Step 3: Preheat the Air Fryer
Preheat your air fryer to 200°C (400°F) for 3–5 minutes. Starting on a hot basket means the skin begins crisping immediately instead of slowly warming up. Lightly brush or spray the basket with a little of the 1 tsp oil — just enough to stop sticking.
Step 4: Air Fry in Two Stages
Arrange the wings in a single layer in the basket, skin-side up, with a little space between each piece. Do not overcrowd — crowded wings steam. Work in batches if your air fryer is small; it is worth it. Brush the tops very lightly with the remaining oil.
Cook at 200°C (400°F) for 12 minutes. Flip each wing. Cook another 10–12 minutes at 200°C until deep golden and the skin is visibly crisp. The first round renders the fat; the second crisps what is left. For extra dark, crunchy wings, add 2 more minutes — watch them closely in the final stretch.
Step 5: Check and Rest
The wings are done when they are deep golden and the thickest drumette reads 75°C (165°F) on a meat thermometer — or the juices run clear when you pierce one. (No thermometer? The color and crisp look plus 22–25 total minutes is reliable for standard-size wings.) Rest them on a wire rack or plate for 5 minutes so the coating sets and the bottoms stay crisp. Squeeze lemon over, shower with fresh coriander, and serve hot.
Pro Tips for Extra Crispiness
- Overnight dry brine = maximum crunch. Salting and refrigerating the wings uncovered for 8–12 hours gives the crispiest result. Making wings tomorrow? Do this tonight.
- Baking powder, not baking soda. Baking soda would give a soapy taste. Use aluminum-free baking powder if you have it.
- Never overcrowd the basket. Wings touching each other steam instead of crisp. Two spaced batches beat one packed, soggy batch every time.
- Flip only once. Constant fiddling knocks the coating off. Twelve minutes, flip, ten to twelve more — let them be.
- Rest on a rack. A plate traps steam underneath and softens the bottoms; a wire cooling rack keeps every side crisp.
- Sauce at the last minute. Toss saucy variations in sauce right before serving, not before resting. Sauced wings sitting for 10 minutes go soft.
Variations: 4 Flavor Twists
1. Peri Peri Wings
Cook the base recipe, then warm 3 tbsp peri peri sauce with 1 tbsp butter in a small pan for 1 minute. Toss the hot wings in it and serve immediately. Fiery and tangy — keep extra sauce on the side for the brave. (Bachon ke liye sauce half kar do — thora tez hai.)
2. Honey Garlic Wings
Heat 2 tbsp butter, 3 minced garlic cloves, 3 tbsp honey, 1 tbsp soy sauce, and 1 tsp chili flakes in a small pan for 2 minutes until slightly thickened. Toss the crispy wings in the glaze right before serving and sprinkle with sesame seeds. Sweet, sticky, garlicky — the crowd-pleaser of the four.
3. Desi Masala Wings
Use 1 tsp chaat masala in the base coating instead of paprika. After air frying, toss the hot wings with 1 tsp chaat masala, ½ tsp red chili powder, lemon juice, and chopped coriander and mint. Tangy, spicy, unapologetically desi.
4. Garlic Herb (Kid Favorite)
Melt 2 tbsp butter with 1 tsp garlic powder, 1 tsp dried oregano, and ½ tsp salt. Toss the wings in this simple butter and finish with 2 tbsp grated parmesan if you like. Mild, buttery, completely non-spicy — the one that disappears first when kids are around.
FAQs
Do I really need cornflour? Can I use maida?
Cornflour is much better here. Maida absorbs more moisture and turns soft and bready in the air fryer; cornflour forms a thin, glassy, crisp shell. Rice flour mixed with cornflour (the combo in this recipe) gives the best texture of all.
My wings came out rubbery. What went wrong?
Almost always one of three things: the wings were not dried enough, the basket was overcrowded, or the temperature was too low. Pat them fully dry, keep a single spaced layer, and cook at a full 200°C in a preheated basket.
Can I use frozen wings?
Yes, but thaw them completely first and dry them very well. Cooking from frozen adds too much water to the basket and you get steamed, pale wings instead of crispy ones. Thaw overnight in the fridge, then start from Step 1.
How do I reheat leftover wings?
Not the microwave — it makes them soggy. Reheat in the air fryer at 190°C (375°F) for 4–5 minutes and they come back nearly as crispy as fresh. Leftovers keep in the fridge up to 2 days in an airtight container.
Conclusion
Crispy air fryer chicken wings are one of those recipes that sounds like a compromise and turns out to be an upgrade. You lose the vat of oil, the splatter, and the heaviness — and keep everything that matters: golden crackly skin, juicy meat, and that irresistible just-cooked smell. Respect the drying step and the method is simple; from there the flavors are endless.
Start with the classic recipe, master the two-stage cook, then try the desi masala version — it is the one my family now asks for by name. (Ghar walon ko pehle plain khilana, phir peri peri wala tray laana. Reaction dekhne layak hoga.)